Hot stamping has been very popular in the printing industry since it was invented. To know more about hot-stamping, here is the link to the article about it. The article will cover topics on What is Hot Stamping? And Why it will benefit on your Brand image. Unarguably, Hot-stamping will be good for your brand and sales. And you now wish to use it on your prints. This article will serve the purpose on guiding you to prepare a perfect artwork for Hot Stamping Print Jobs.
Keep your Hot Stamped Images within the Safe Zones
Table of Contents
First of all, it is necessary for all artworks to be prepared with a Bleed, and keep all important words and images within the safe zone. it is very important because any images beyond the trim line will be later trimmed. Any images that appear too close to the trim line will be in a risk of bring cut. Therefore, do not forget that Hot Stamping apply the same rules too.
However, if your hot-stamped image has to be covered until the edge of your prints, do not forget that you have to extend the hot-stamped image until it covers the bleed too. If you wish to know more about Safe Zone, Trim Line, and Bleed, here is the link to the article that think you should read.
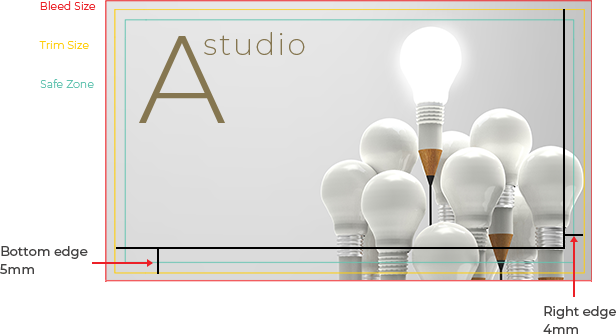
As the print size matters, it will have a slightly different condition for business cards. Check on illustrations below for a better understanding.
Landscape Business Cards
For landscape business cards, you are to leave a 4mm gap from the right trim line, and also a 5mm gap from the bottom trim line.
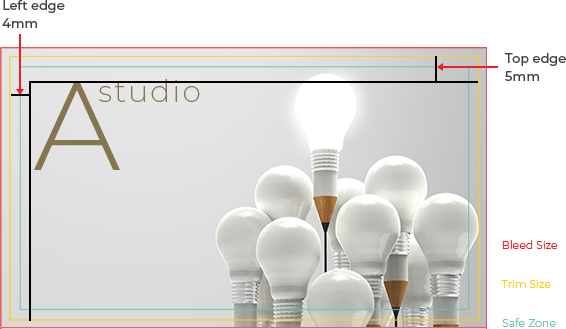
In vice versa, it also applies the same rule for the opposite direction. You are also to make a 4mm gap from the left trim line, together with a 5mm gap from the top trim line.
Portrait Business Cards
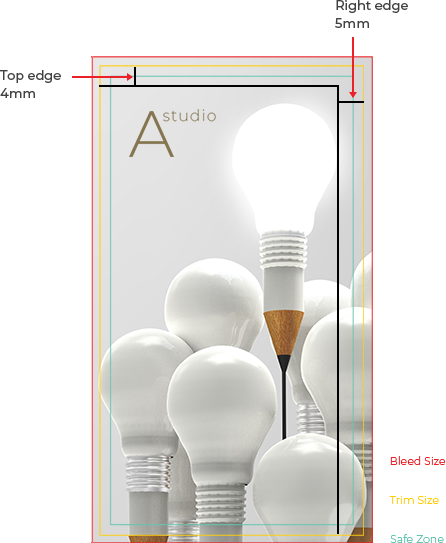
If your business cards is in portrait orientation, the rule applies but in a reversed direction. The illustration below will show you on the right measurements.
You are to leave a 4mm gap from the top side trim line, and also a 5mm gap from the right side trim line as following:
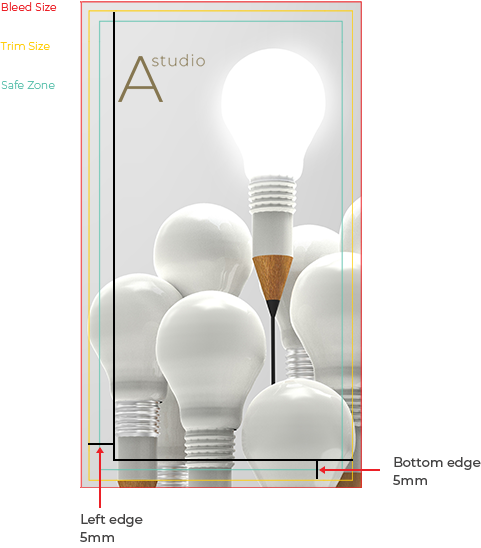
In the other way, here is the illustration for the left side. A 5mm gap from the left side trim line, and also a 4mm gap from the bottom side trim line.
Minimum Requirements for Font Sizes, Dots, and Lines
The minimum font size requirement for Hot stamping is 7.0pts and above. But, here is a tip to make your words elegant for hot stamping. Do not Bold the fonts whenever you are using the font at the minimum size. It will end up coarse and thick and not reading friendly. However, if you wish to make a reverse Hot Stamping effect, you should then avoid thin fonts like Sans Serif. Images below will illustrate on the Reverse Hot Stamping effects. However, to know more about Reverse Hot Stamping, you are advised to read on the article at the link for more information about it.
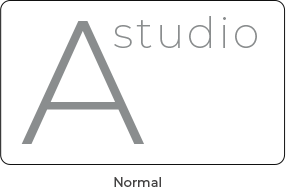
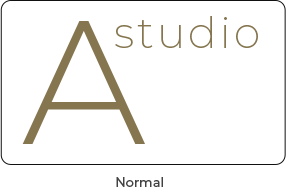
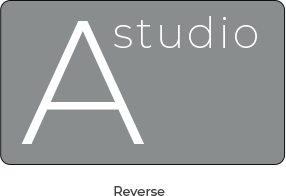
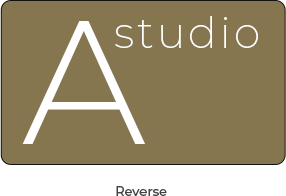
As for dots, do make sure that the dots are not smaller than 1.5pts.
![]()
![]()
Whenever you are adding Lines in your hot stamping prints, do keep aware that the lines are thicker than 0.5pts.
![]()
![]()
And whenever there is a gap between dots and lines, you are to keep a 1pt distance between each dots and each lines.
![]()
![]()
Avoid Gradient Fills on Hot Stamping Artworks
As Hot Stamping can be only done in a solid filled color, it is not possible for creative color settings such as Gradient Fill to be printed as Hot Stamping. Hence, do apply only Solid Color setting for your Hot Stamping Artwork.
![]()
![]()
Keep the Artwork Images Aligned
Hot stamping requires a very accurate registration on all your stamped images and fonts. Therefore, you are to make sure your artwork is aligned accurately before submitting. To know more about the possible image registration issues that might occur to your Hot Stamping job, click on the link to read more about it.
Materials that Hot Stamping will NOT Work Out Well
Unfortunately, this beautiful finishing isnt going to work well on the paperstock that have uneven surface. For example, Conqueror Papers, Fine Suwen Cards, Linen Cards, and etc. It just wont stick on uneven surfaces. Furthermore, due to heat limitation, plastic cards also wont be tolerating for this finishing. Other than that, our experience confirms that metallic cards, super white cardstock, and Gloss Laminated Surface also tend to not work well for it. Therefore, AVOID IT AT ALL COST!
File Submission for Hot Stamping Jobs
There will be three file that you need to prepare for Hot Stamping Jobs. Here are the list.
File 1: The Complete File

This file shall contain all the elements in your file. Consisting of the CMYK Printing file, and the Hot Stamping File Combined.
*Hint* You are advised to use a maximum of two Hot Stamping Colors for your printing. Choose from the color Gold, Silver, Black, Red, Blue, and Green. For a better illustration, check out this article.
File 2: CMYK Printing File

In this file, you are to remove the Hot Stamping element from the original complete File 1. This shall be a purpose for us printer to identify which elements are not to be printed in CMYK.
File 3: Hot Stamping Artwork File
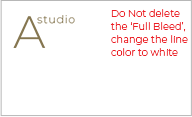
This file will only consist of the Hot Stamping element. While preparing this file, please ensure that the artwork is aligned accurately. Do not remove the bleed area from the templates. Just change them to white color, so we can fit and match it for possible artwork misalignment.


When all three file is done, you may either ZIP them into one folder, or combine it into one single PDF. Any method will do. Just run through a double check after all is done. And… thats right! You are ready to submit and print!
If you find this article useful, please feel free to subscribe and sign up onto our Printoka.com’s membership program. We have more products available online than you can expect. Guess what, our prices are attractive too! Printoka is the one-stop online printing solution provider that you will need. Stay tuned for more updates!





 Contact us